
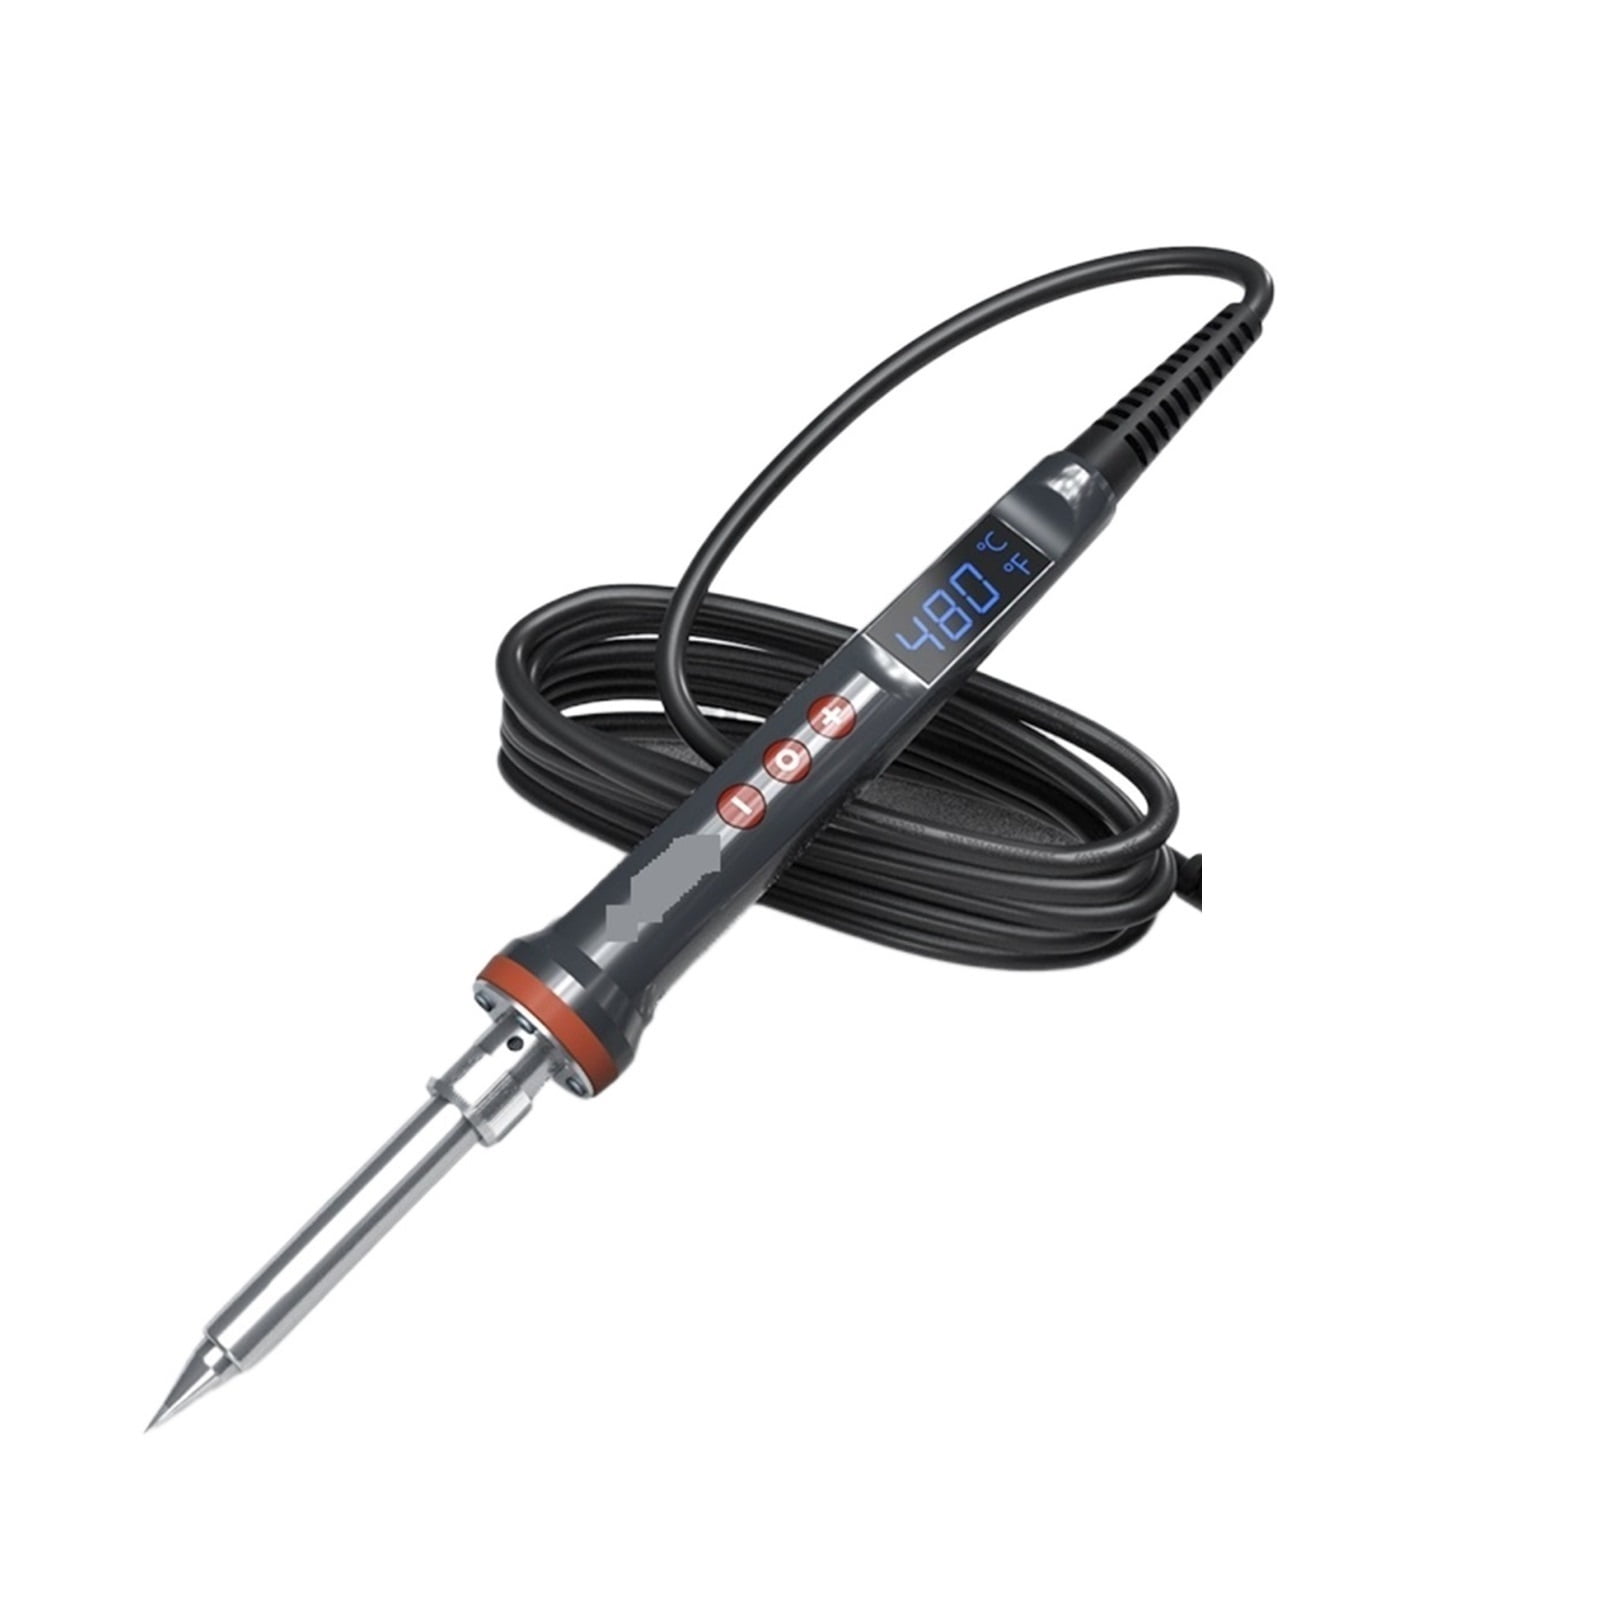
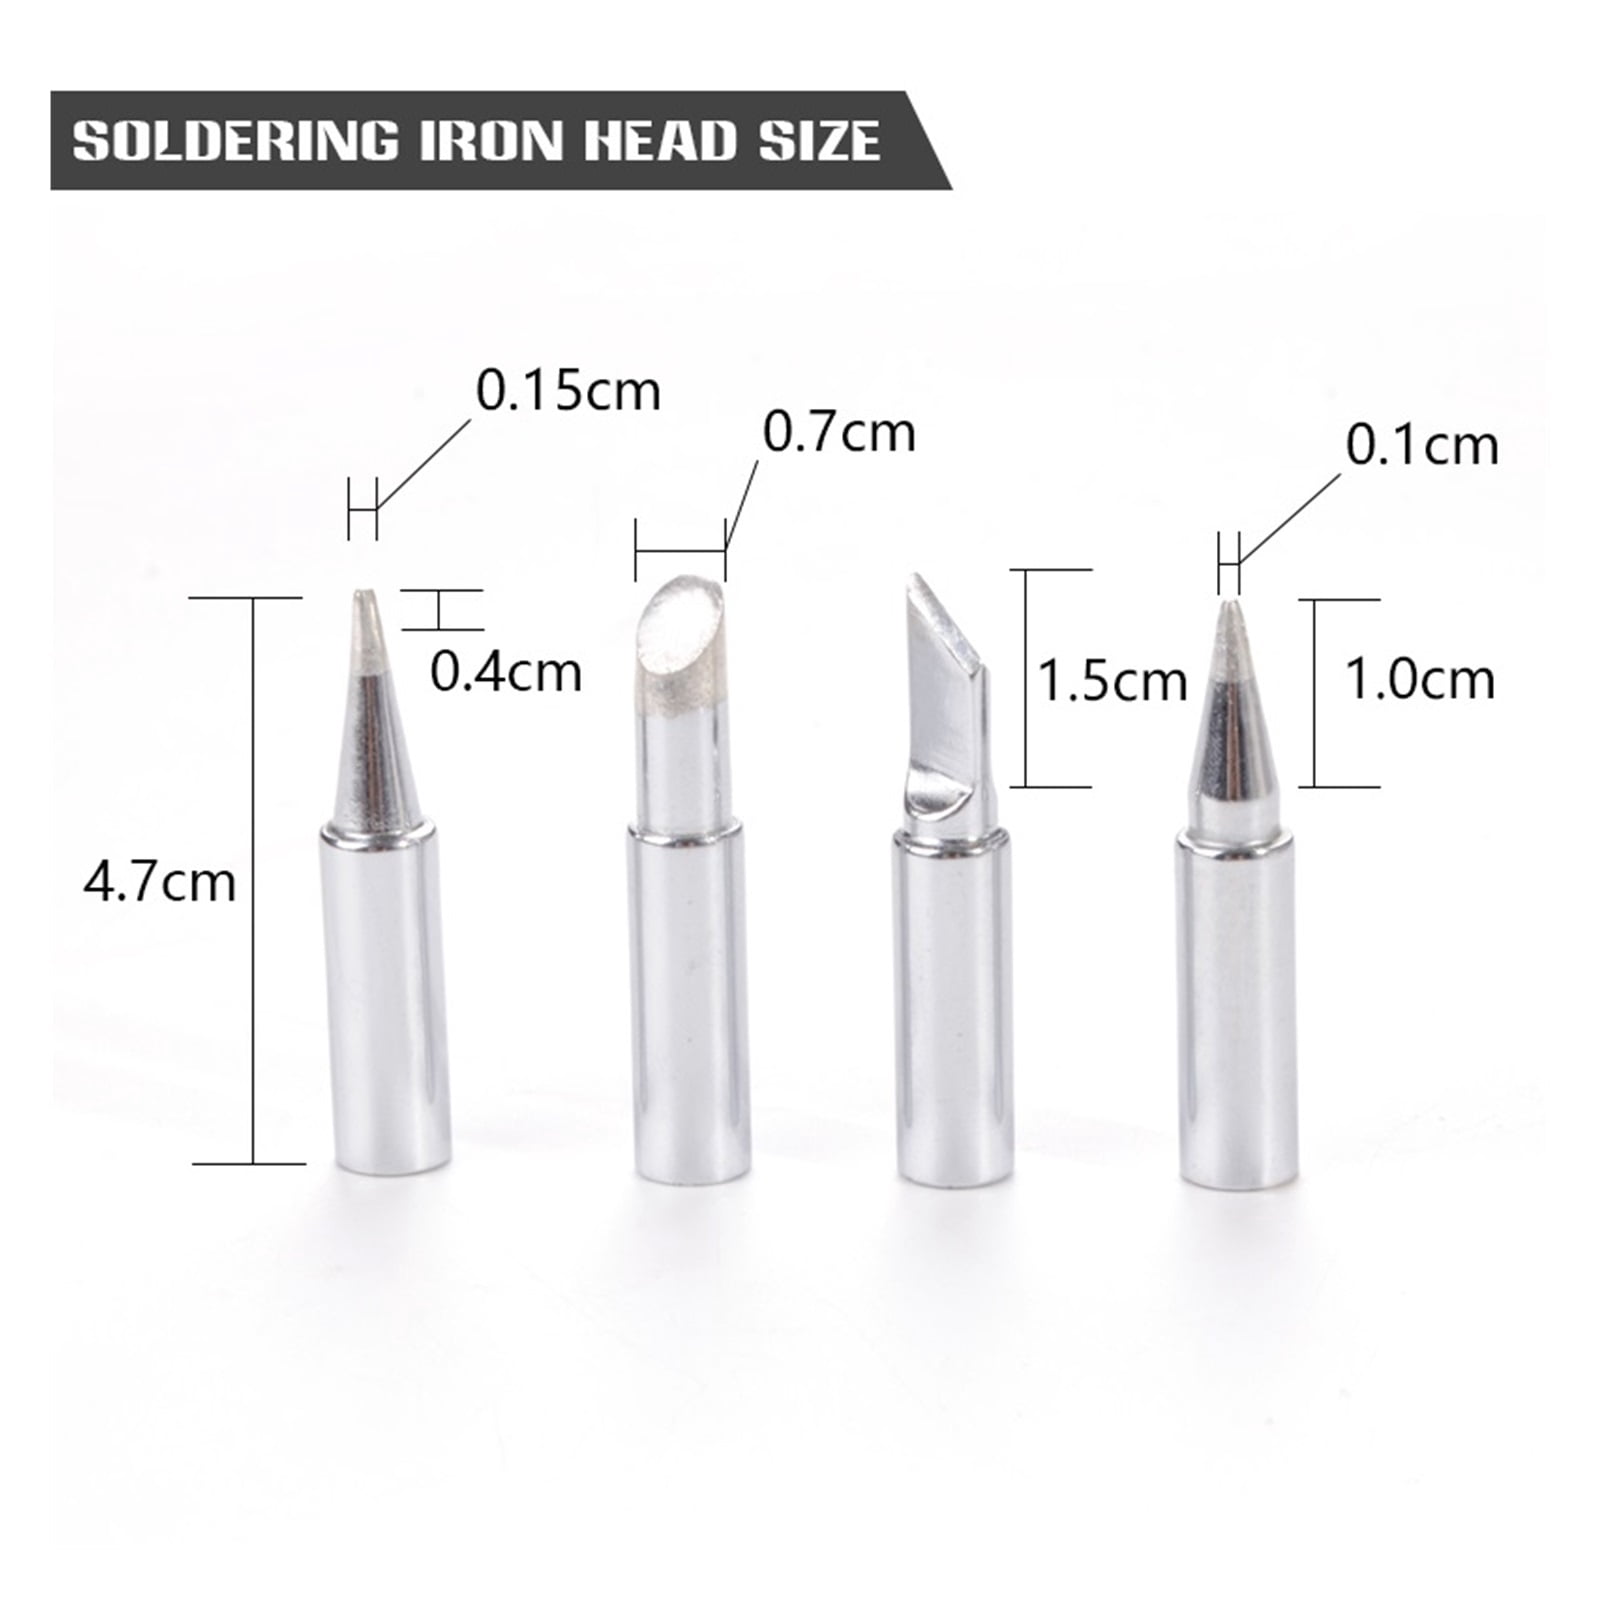
100W/200WDigital Electric Soldering Iron Kit Set Temperature Adjustable,Ceramic Heater Welding Solder With 4 Tips,Welding Tools
Product details
| Management number | 230839116 | Release Date | 2026/06/18 | List Price | $33.02 | Model Number | 230839116 | ||
|---|---|---|---|---|---|---|---|---|---|
| Category | |||||||||
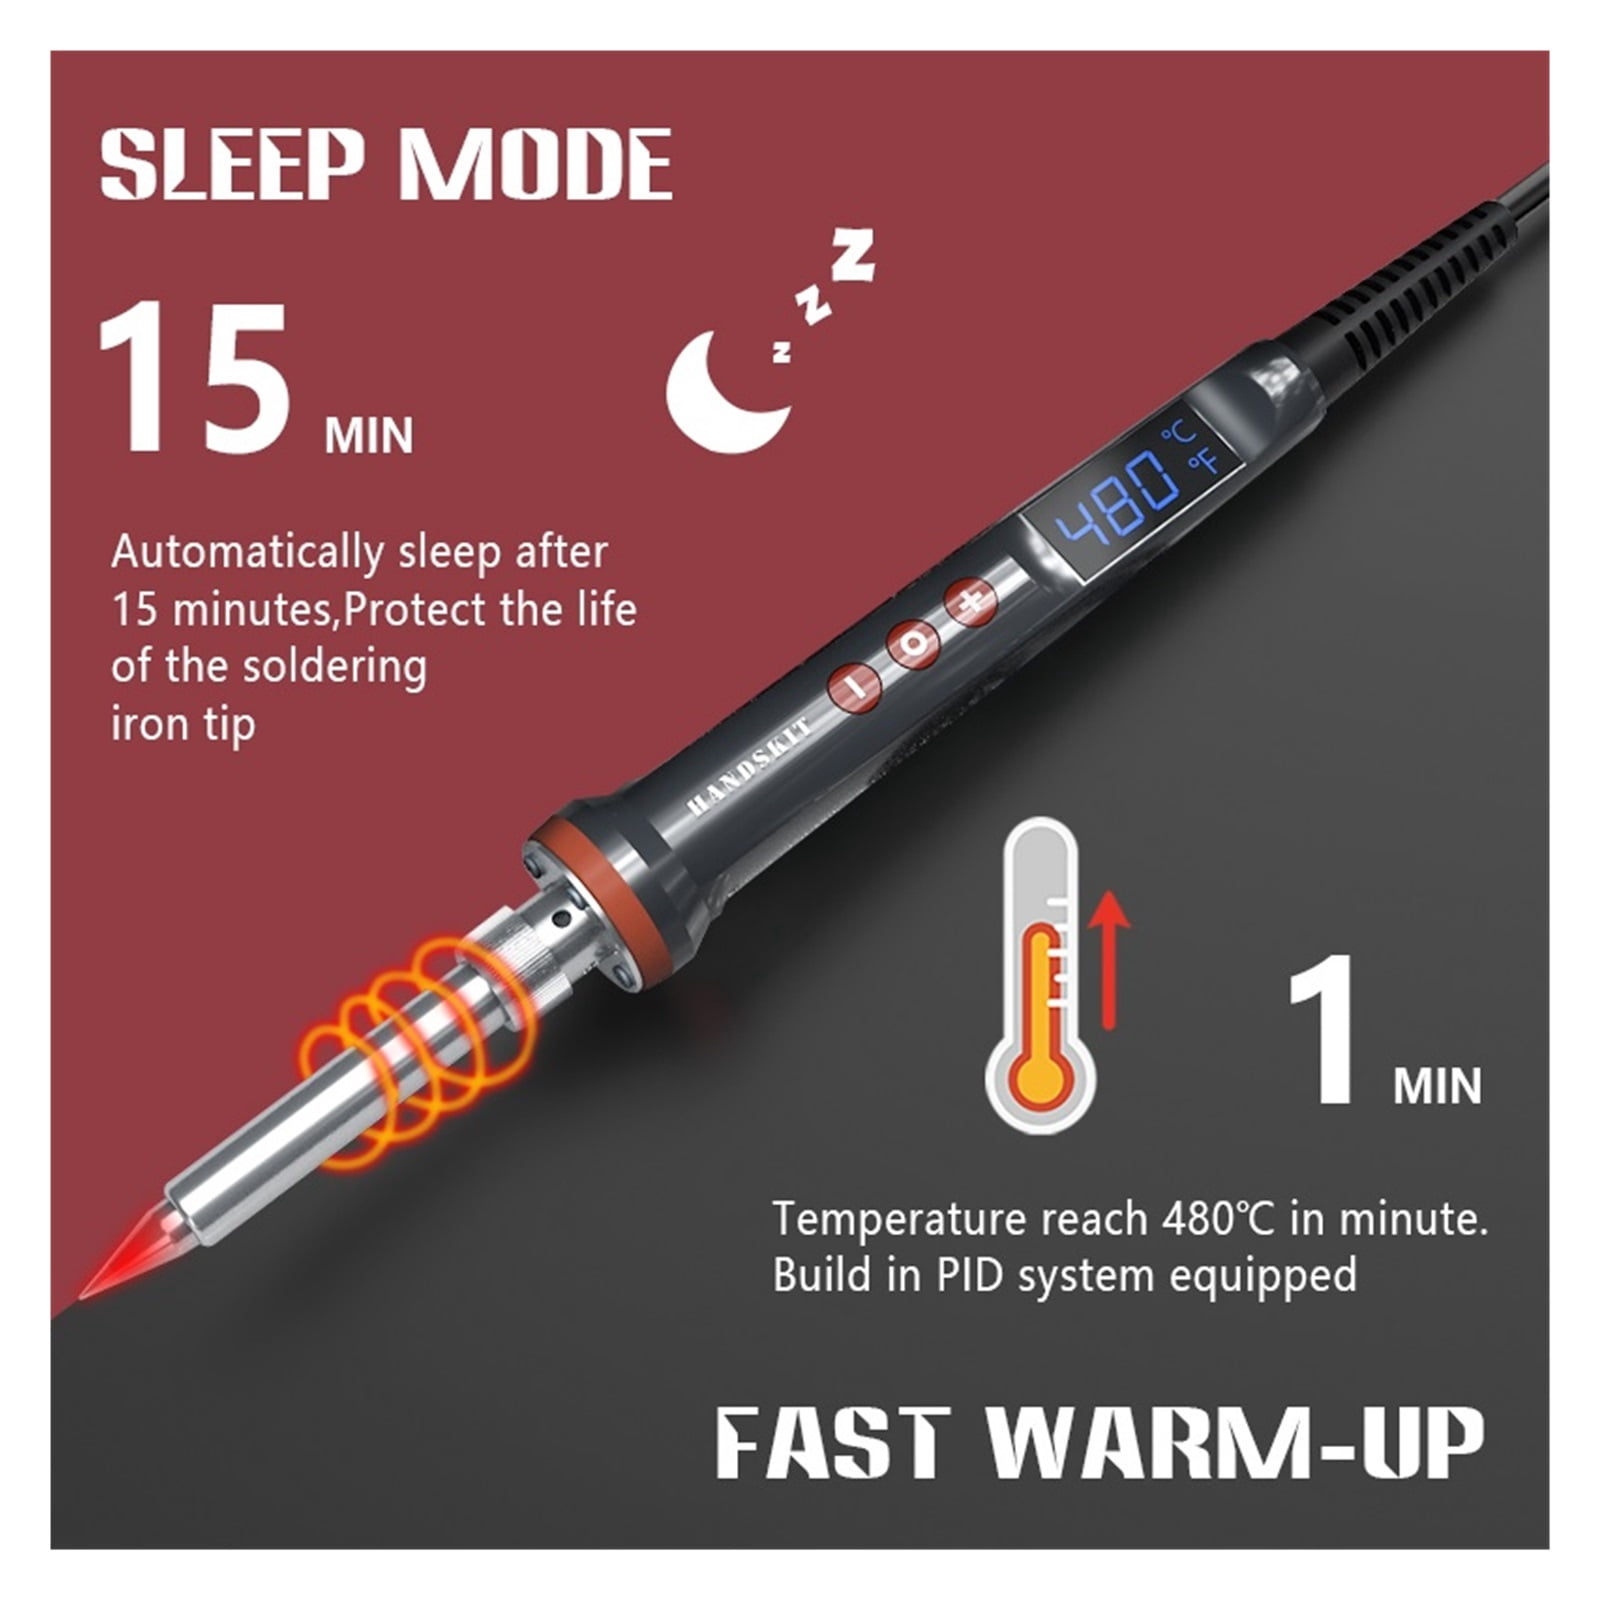
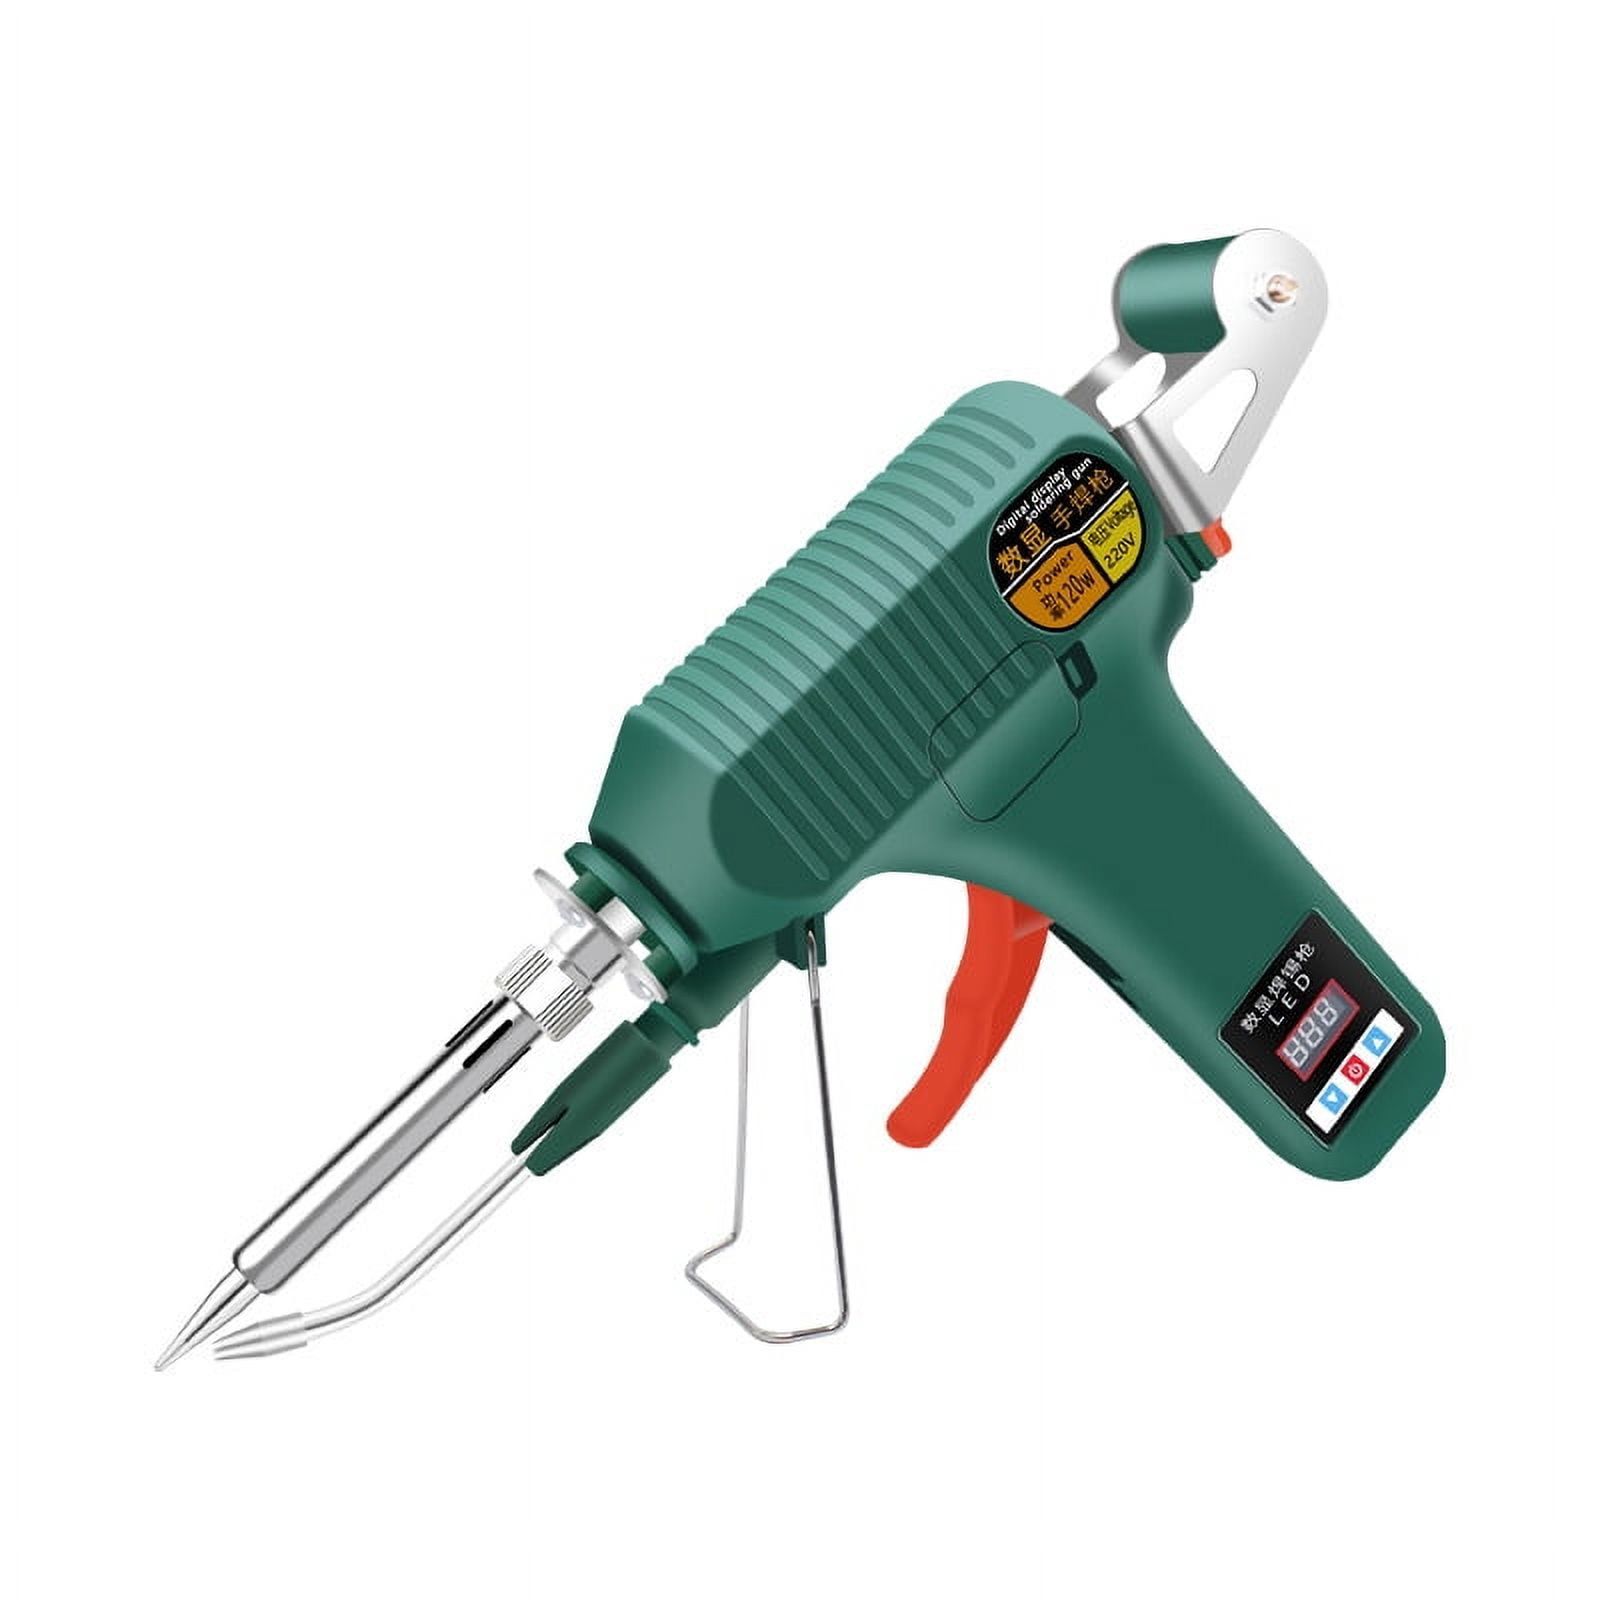
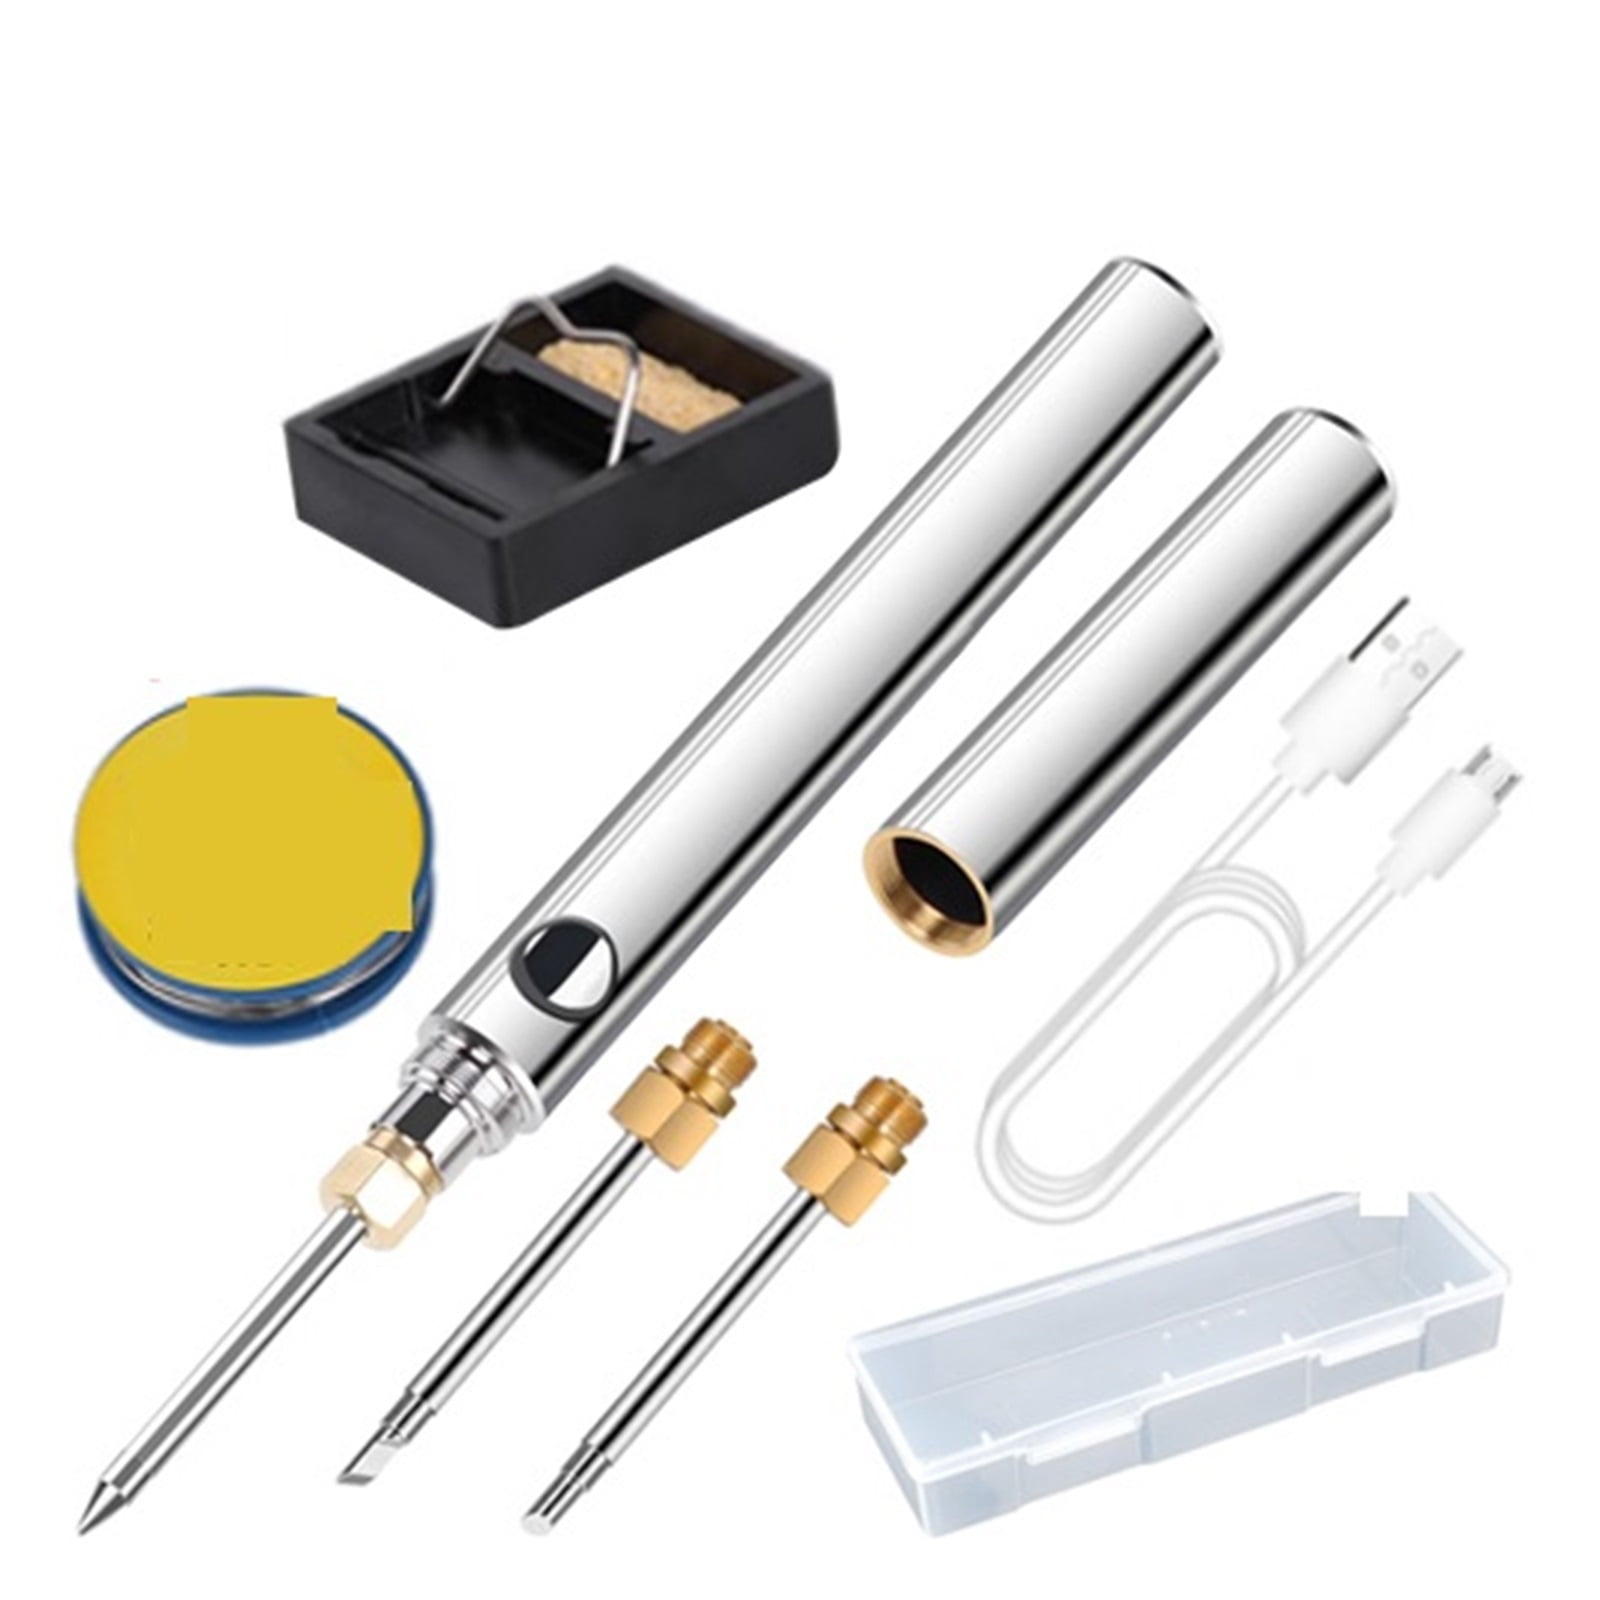
<p>Unlock your creative and repair potential with our professional soldering iron kit. Engineered for precision and thermal stability, these soldering kits are essential for engineers, hobbyists, and DIY enthusiasts working on circuit boards, home appliance repairs, and jewelry making. Featuring an advanced internal-heated ceramic core, our soldering irons reach their operating temperature in seconds, providing a consistent heat flow that ensures smooth, high-quality solder joints every time. </p><p> </p><p>Our comprehensive soldering iron kits are designed as "all-in-one" solutions, typically including a temperature-controlled iron, a variety of interchangeable tips, a sturdy safety stand, and high-quality desoldering tools. With adjustable temperature settings and a heat-resistant, anti-slip handle, you can tackle delicate micro-electronics or larger wire splicing with equal confidence. Built with safety in mind and often featuring an automatic sleep mode, our tools deliver the professional performance and reliability required for both intricate lab work and rugged home repairs.</p><p>Product Description:</p><p>Temperatute range:180-480</p><p>Temperature offset range:±99</p><p>Heater:Ceramic </p><p></p><p>Operation five steps</p><p>1. Prepare for welding: Check the condition of the electric soldering iron. After confirming that it is correct, determine the welding position and check the type of welding components</p><p>2. in and preheat the welding position: power on the electric soldering iron, point the soldering iron tip at the position to be welded, and preheat for 1-2 seconds (preheating time depends on the temperature of the soldering iron used and the temperature of the components to be welded</p><p>3. Add tin wire: After the welding position is preheated, hold the tin wire with your left hand and send it to the solder joint position</p><p>4. Disconnect the tin wire: When the tin wire melts to meet the requirements of the solder joint, remove the tin wire</p><p>5. The soldering iron tip leaves the solder joint: After completing the solder joint, remove the soldering iron tip and place the soldering iron safely on the soldering iron stand.</p>
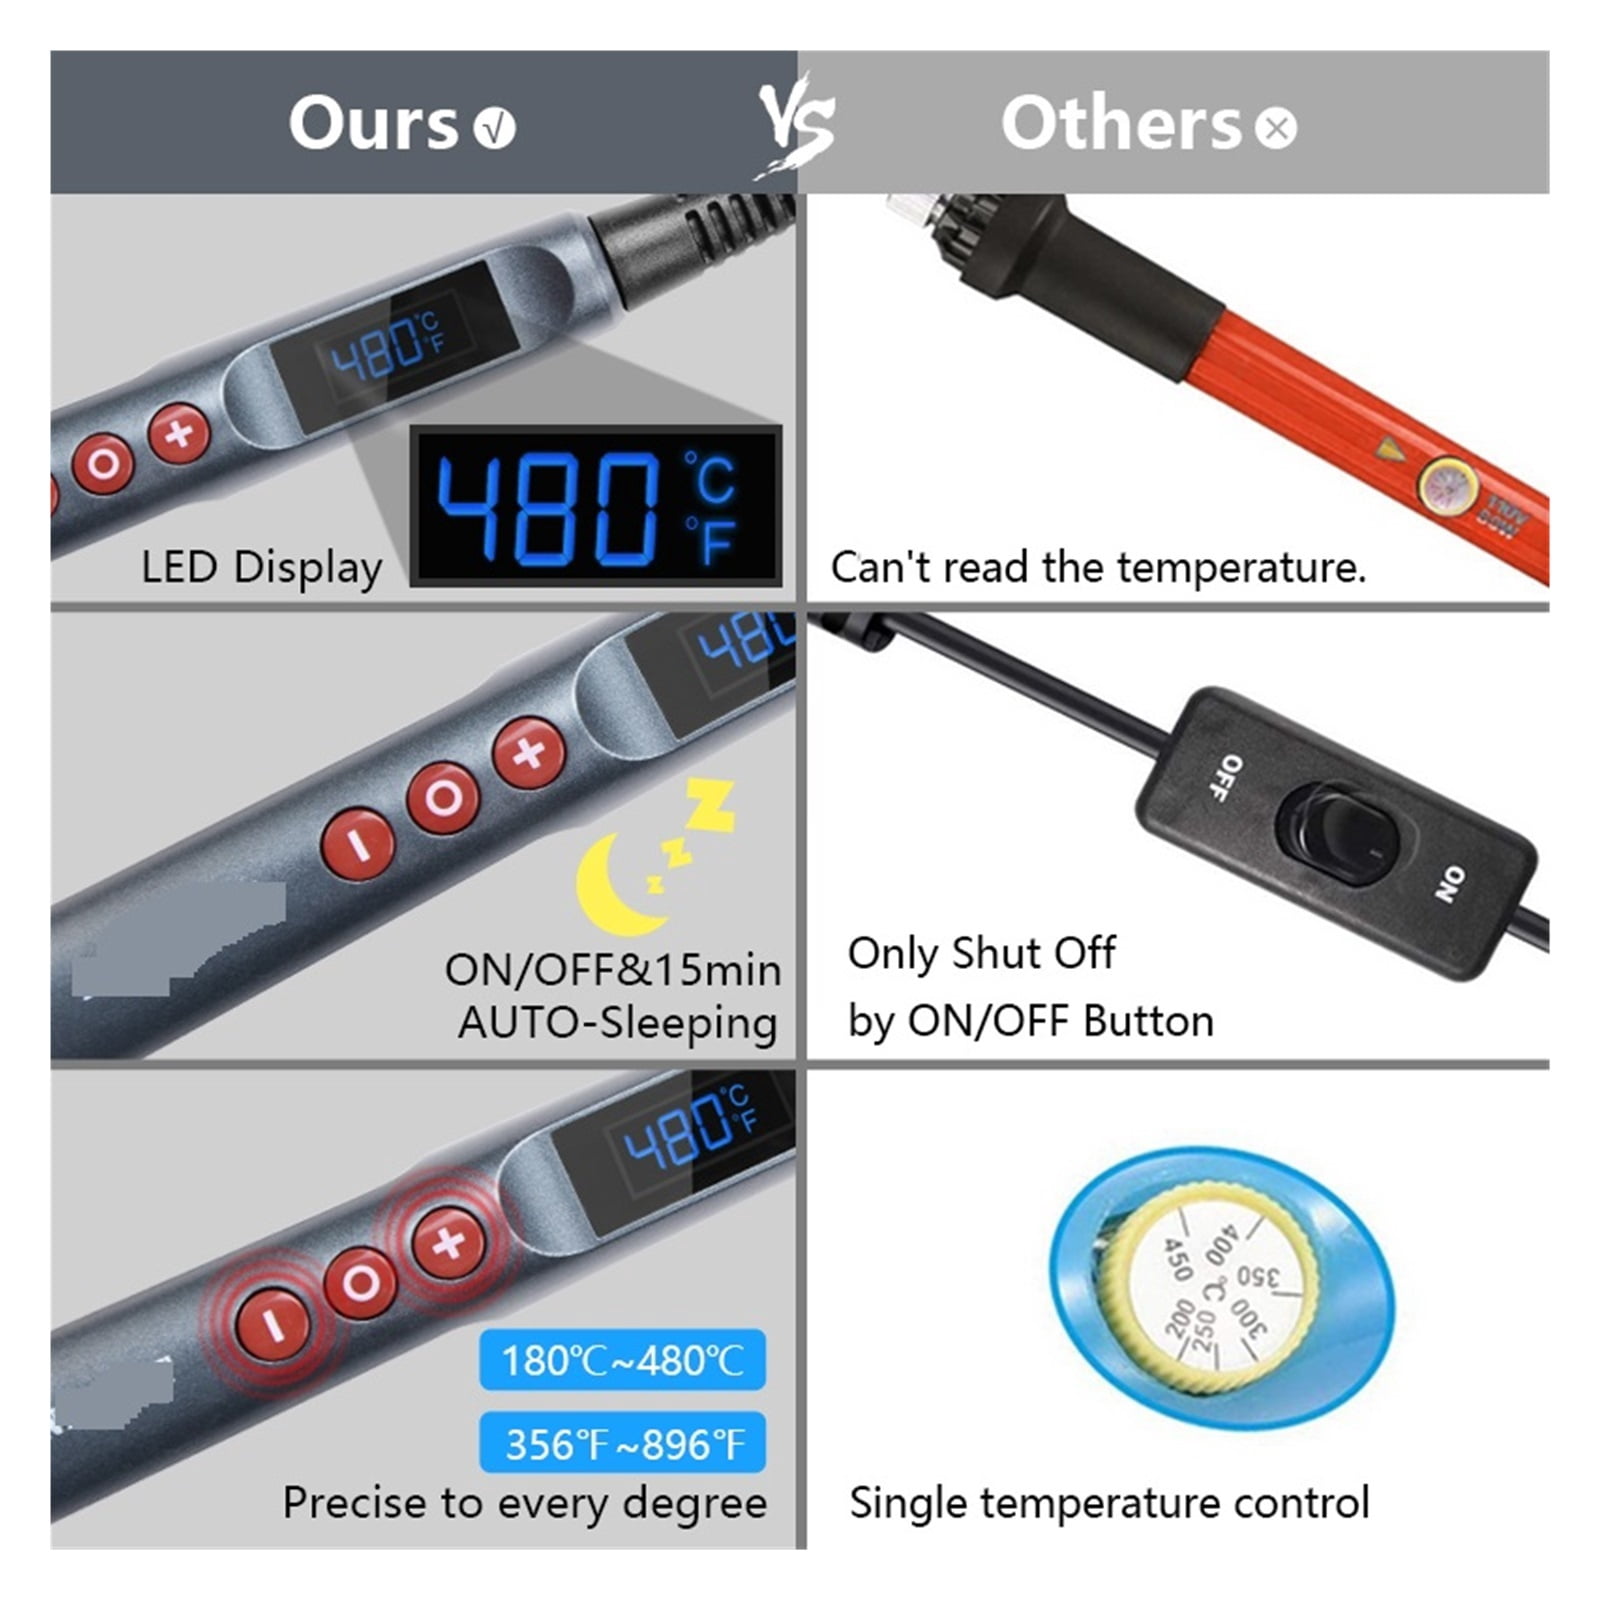
- The soldering iron is and play, you can unplug the power and turn off the soldering iron at any time when not in use, ensuring welding safety and energy saving.
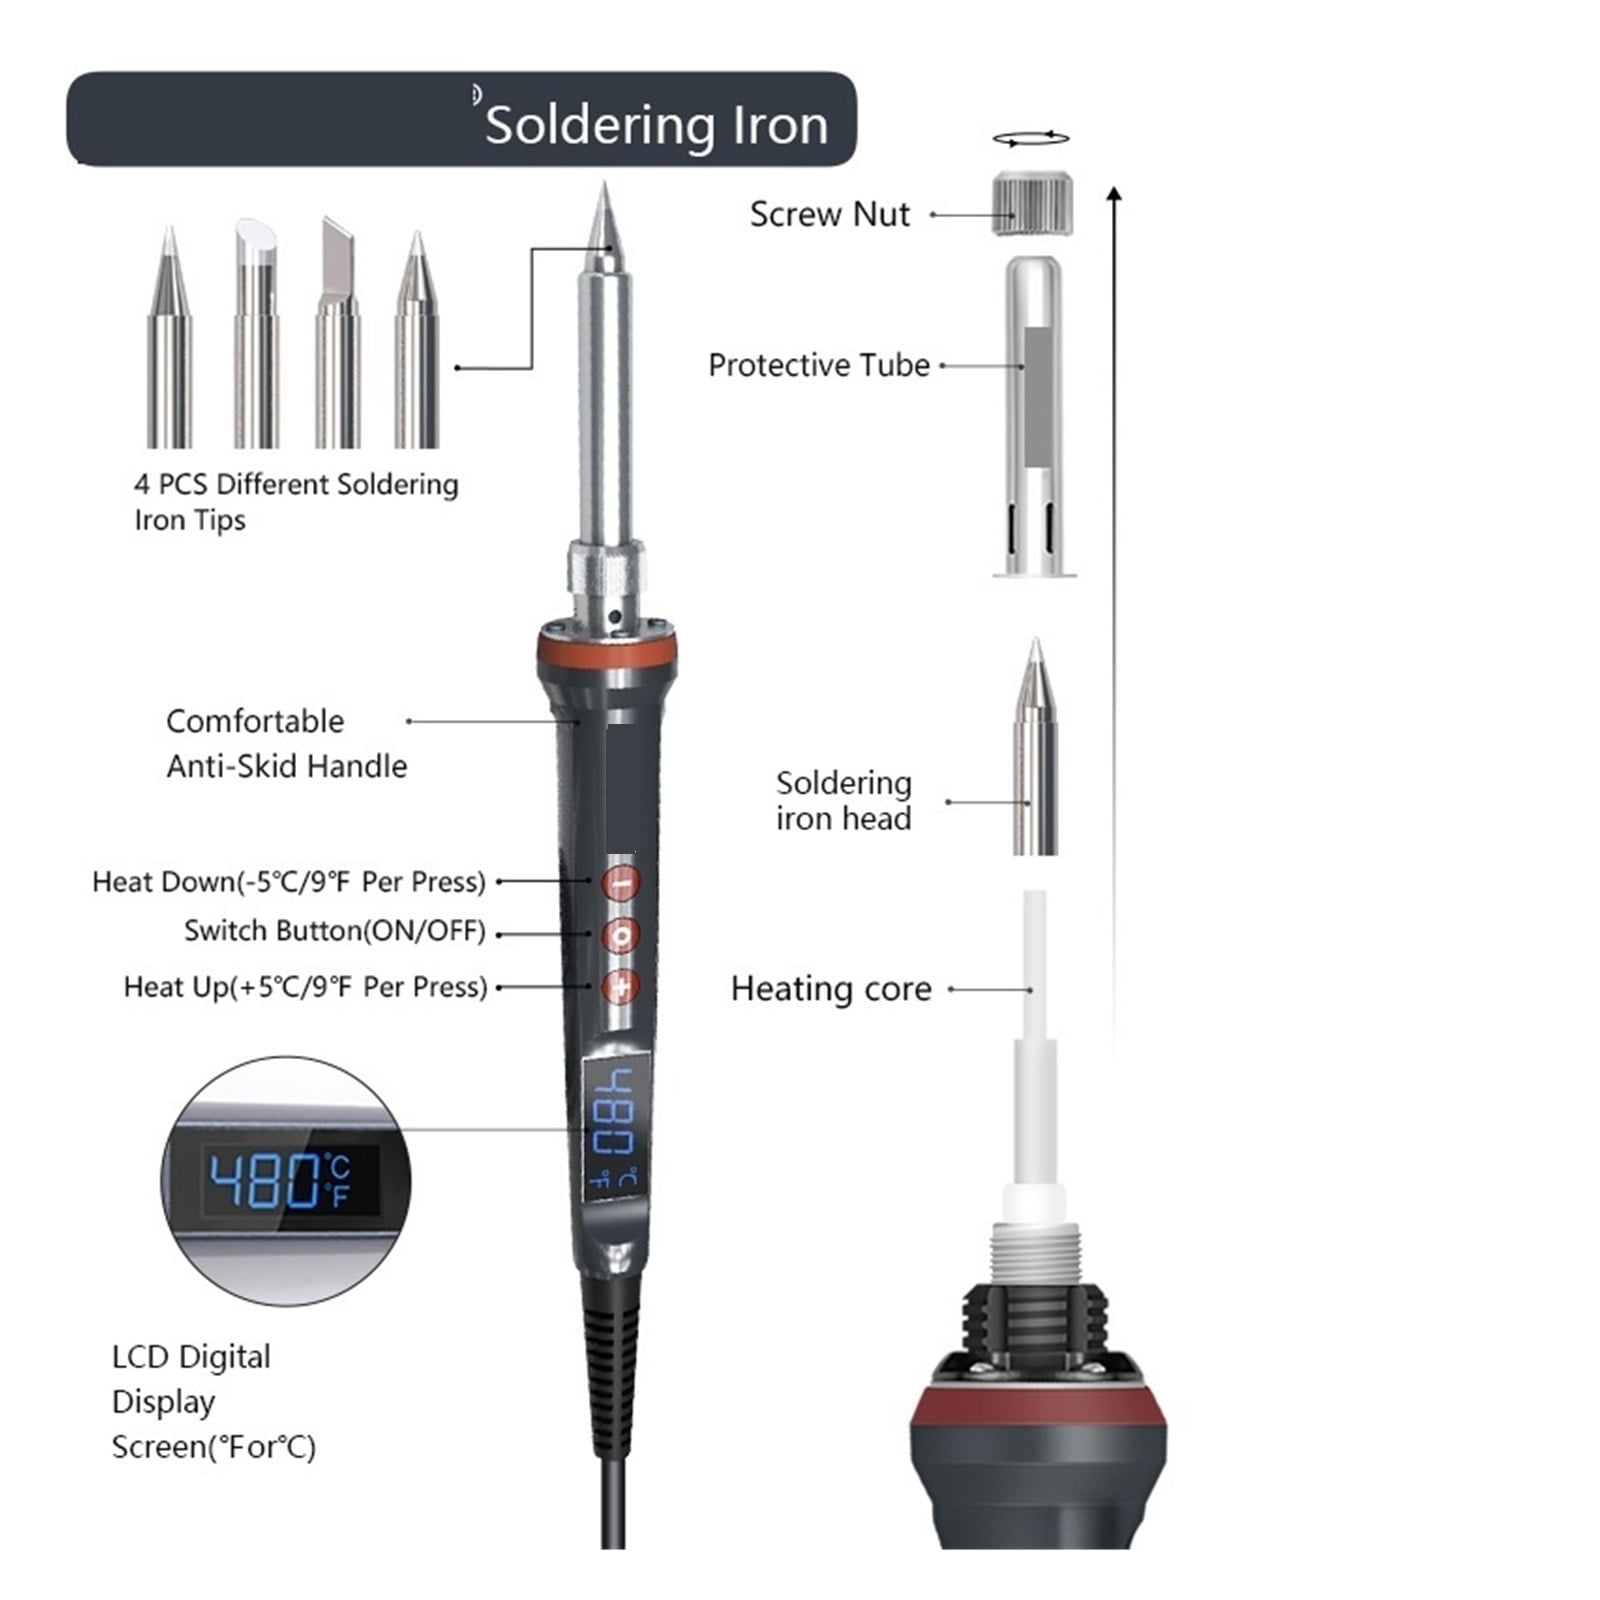
- LCD display, indicating the temperature status more clearly, so you don't have to worry about finding the right temperature for each welding job.
- Insulated silicone handle, compact and lightweight design, fast heat dissipation, allowing you to use the soldering iron for a long time.
- Ceramic technology makes the soldering kit heat up very quickly and heats up to the desired temperature in 20 seconds so you can get to work.
- Widely used in soldering circuit boards, electrical maintenance, jewelry and metal headgear production, computers, DIY. for beginners, welders, basic household equipment, welding engineer training and more
| Brand | LuckyBliss |
|---|---|
| Rec. use | Commercial |
| Accessories | See Specifications |
| Weight | 0.04 oz |
| Dimensions | 1.00 x 1.00 x 1.00 cm |
| Has written warranty | No |
| Count | 1 |
Bestseller ranking
Soldering Irons
Customers who viewed this product also viewed
Bamboo Flutes




Correction of product information
If you notice any omissions or errors in the product information on this page, please use the correction request form below.
Correction Request Form